

Repost Recipe for Thanksgiving – Jason Murphy’s “You Won’t Believe it’s Not Dressing!”
Local fitness enthusiast Jason Murphy remakes favorite meals of his youth into healthy dishes. See the full list of his recipes at www.mysaline.com/shirtless.
REPUBLISHED FROM 2021:
It’s time to go shopping to prepare for Thanksgiving week. I know the first image that always conjures up is the giant roast turkey from a Norman Rockwell painting, but for me, the star of the show was always my grandmother’s chicken and dressing.
It stands out in my memory as a plate full of happiness and contentment. Maybe it was the rarity as I only received this once a year, or the joy of being out of school and at her house, which was always a safe haven in my youth.
I’ve said here before that my grandmother was the absolute nicest person to walk this earth, and somehow I think she sprinkled that magical kindness into her dressing. As a young adult, I would cook the store bought stove top “dressing”, which is just a box full of disappointment. It’s like stale packing peanuts with an overload of salt and some sage. It doesn’t deserve to be mentioned in the same article. So enough of that, we won’t even go over the horrors hidden in that box with the chemicals and preservatives.
As the signs that the end was coming started to show, I always wanted to ask Granny to teach me how to make her Chicken and dressing, but I never did. I guess that would be admitting the end was near, so I was content just to enjoy her company and her chicken and dressing for as long as possible.
Now that I’ve been living this “no processed foods” lifestyle for nine years, I had to come up with a dish that not only was healthy, but had to honor her memory by being one of those dishes you have to stop yourself from getting seconds or even thirds, as I was known to do from time to time.
When Joey Tribbiani would complain of the meat sweats after Thanksgiving, I was all too familiar with that condition. It took some trial and error, a bit of despair thinking I wouldn’t crack the code, and finally success. What I’m about to give you here captures the essence of her dish, without even a hint of being good for you. It’s Chicken and Dressing that won’t make your dress size go up. And for all you cauliflowerphobes out there, good news, not a hint of it here.
I don’t have pictures of the final product here, because as I write this, I haven’t yet made it for this year’s holiday. I’ll include those pics in the post holiday article, but I wanted to get this out there in case any of you needed a healthy and delicious version of dressing to save the turkey day. This is a really simple dish to make, and it’s using recipes you’ve already seen in my articles in the past.
It’s just my low carb cornbread with a few modifications and a whole chicken spending it’s day lounging in the slow cooker. Add some chicken broth and bake, maybe whip up a batch of healthy pan gravy, and you are in Thanksgiving heaven.
Timing is key here, cook the chicken and the cornbread a day ahead of time, and assemble the final dish the day of eating. This also warms up nicely in a slow oven if you need to make the whole thing ahead of time. I hope you enjoy this one as much as I do.
Part 1 – Cornbread stuffing:
Ingredients:
- 2 Tbsp avocado oil
- 2 cups almond flour
- 1/4 cup coconut flour
- 3 tsp baking powder
- 1 tsp sea salt
- 1 tsp fresh cracked pepper
- 1 1/2 tsp garlic powder
- 1 tsp onion powder
- 2 tsp Sage
- 3 large eggs
- 1/2 cup grass fed butter
- 1/4 cup grass fed sour cream or plain yogurt (not Greek)
- 25 drops liquid stevia
- 1 cup shredded grass fed cheddar cheese
- 2/3 can of baby corn, finely chopped
- 1/2 yellow onion, chopped
- 5 – 6 stalks celery, chopped
Part 2 – Chicken:
Ingredients
- One whole pasture raised fryer
- 1/2 tsp sea salt
- 1 tsp fresh cracked pepper
- 1/2 tsp garlic powder
- 1/2 tsp onion powder
- 1/2 tsp Sage
- 1/2 tsp thyme
- 1 tbsp olive oil
Part 3 – Dressing casserole:
Ingredients
- Cornbread from day before
- Slow cooker chicken from day before
- 2 1/2 cups low sodium chicken bone broth
Directions:
Gently melt the butter in a saucepan and set aside to cool. Add the two tbsp of avocado oil to a 10 inch cast iron skillet and place in the oven, then set the oven to 400 degrees to preheat the pan.
Whisk all the dry ingredients together in a bowl.
Whisk the 3 eggs in a separate bowl, then add the sour cream and stevia, and whisk together.
Slowly add the cooled butter to the egg mixture, whisking as you add.
Pour the wet team into the dry team and mix well with a spatula until completely integrated.
Then stir in the cheese, baby corn, onion, and celery.
Carefully remove the hot skillet from the oven, then use the spatula to transfer the mixture into the skillet.
It will be thicker than normal cornbread mix, so use the spatula to press the mix into the pan evenly and level it off.
Top the cornbread with more fresh cracked pepper to taste, then bake for 30 minutes, checking for browning at 20.
Once the top is brown and a toothpick inserted in the middle comes out clean, set on the stove top and let cool in the pan until it is at room temp.
Once it is completely cool, crumble and keep refrigerated in a large bowl or dish.
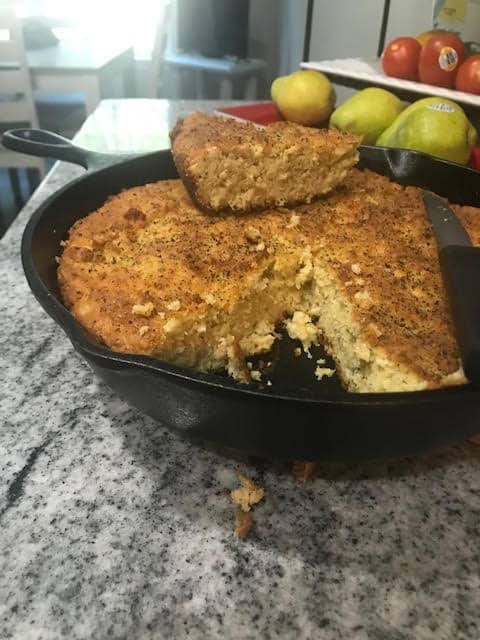
The pic below is the normal cornbread without the onion, celery, and sage.
Chicken for dressing:
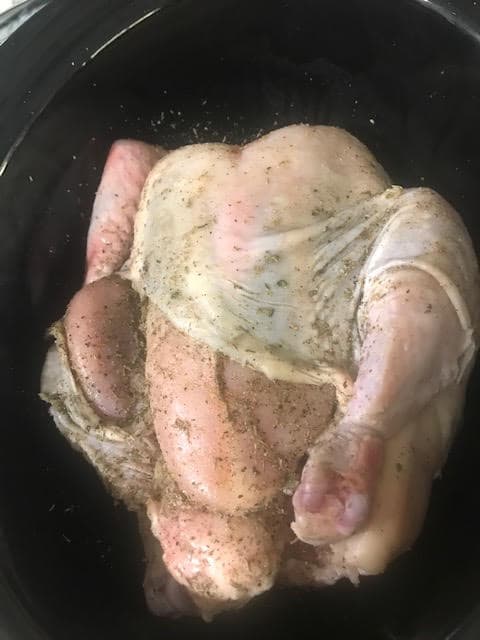
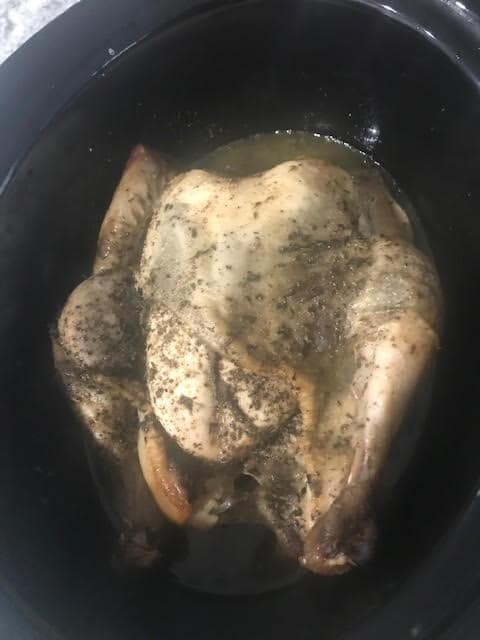
Mix the spice rub for the chicken in a bowl. Work the spices under the skin of the chicken, rubbing down as much of the meat as possible.
Rub the outside of the chicken with the olive oil, then sprinkle the skin with any leftover spices, salt and pepper.
Cook on low for 6 hours, then cook on high for at least one hour.
By now the chicken will basically fall apart at the touch.
Pull all the meat you can from the chicken, and store the meat in the fridge until ready to assemble the casserole.
The final step:
Preheat your oven to 400 degrees.
Mix the cooked chicken and the cornbread in a large bowl and then place in a 11X9 casserole dish that is at least 3 inches deep.
Slowly pour the 2 1/2 cups of broth over the entire dish until all the bread has been coated, then press down gently to slightly pack it.
Bake for 45 – 60 minutes, checking for brownness at 45 – 50 minutes.
Let it rest for 5 minutes and enjoy with my healthy pan pepper gravy.
Quick Pan gravy
Ingredients:
- 2 Tbsp grass fed butter
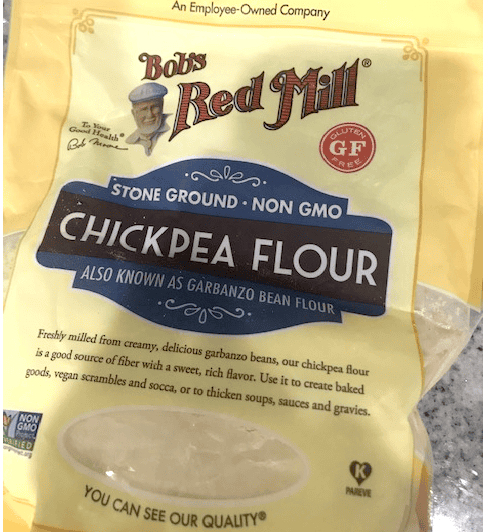
- 2 Tbsp chickpea flour
- 2 cups grass fed heavy cream
- 1/2 tsp sea salt
- 1 – 3 tsp fresh cracked pepper to taste
Instructions:
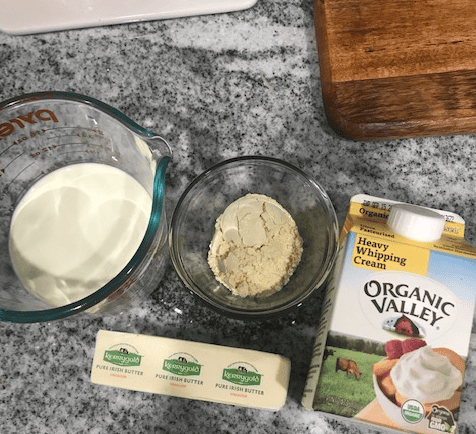
Measure out your ingredients for the gravy. Start with just one cup of heavy cream. It’s easy to add cream to gravy to adjust thickness, but much harder to adjust a thin gravy:
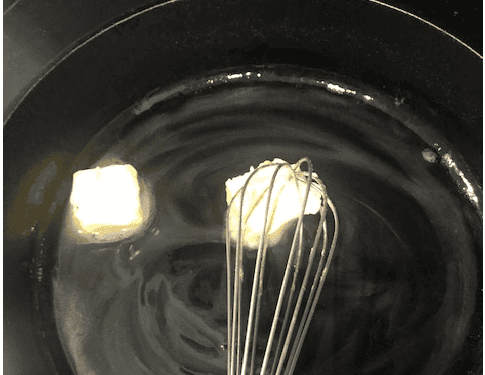
Melt 2 tbsp of butter in a 10 inch cast iron skillet, stirring constantly:
Once the butter is melted and starts to foam, add two tbsp of chickpea flour and stir constantly until the flour is smooth and starts to smell nutty. Cook to a pale blonde:
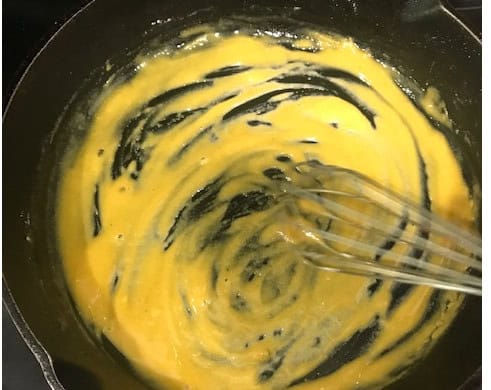
Stir in one cup of heavy cream and mix constantly until the mix is smooth. You will need to adjust the heat down as it starts to boil and thicken:
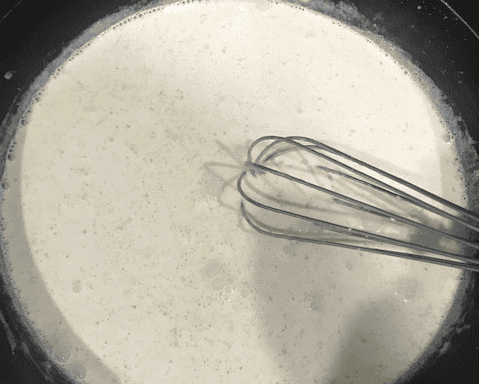
After it thickens, season with 1/2 tsp of sea salt and a healthy grind of pepper. Then slowly add heavy cream and continue stirring, cooking over low heat until the gravy hits your preferred thickness. It will continue to thicken as it sits, so keep that in mind. Once it hits the consistency you are looking for, taste test and add more salt/pepper to your taste.

(Pictured above: Jason Murphy in 2015 vs. 2020)
See the list of all of Jason Murphy’s recipes at www.mysaline.com/shirtless.